
Buying paint becomes easier when you separate the area you intend to cover from the amount sold in a can. A room’s floor area is not its wall area, and a coverage figure on a product label usually needs to be considered alongside the number of coats and the condition of the surface.
The aim is a working estimate you can discuss with the paint supplier. Keep the measurements and assumptions visible so that changing a colour, product or room does not mean starting the calculation again from memory.
Begin with the surfaces in this order
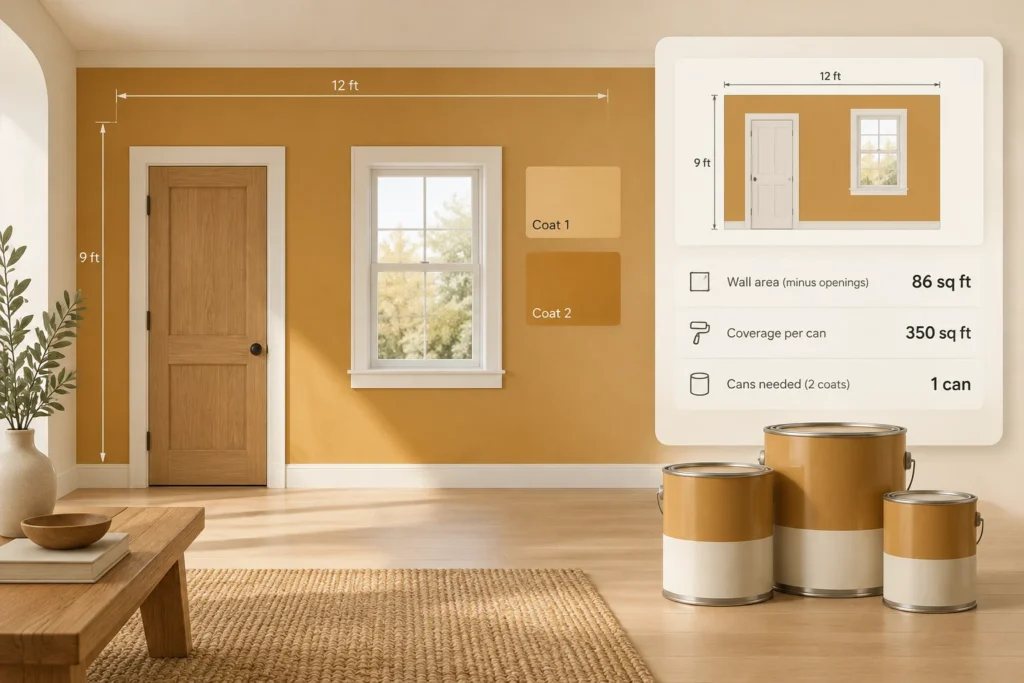
List the walls you are painting and their heights. For a rectangular room with a consistent height, the wall area is the perimeter multiplied by that height. For an illustrative room measuring four by three metres with a height of 2.4 metres, the perimeter is fourteen metres and the gross wall area is 33.6 square metres.
Measure openings that you intend to deduct and keep a note of the convention you use. If doors and windows total 3.6 square metres in this example, the net wall area becomes thirty square metres. Do not subtract an opening twice, and do not deduct an entire wall simply because furniture stands in front of it.
Keep ceilings, trim and doors as separate jobs when they use a different product or finish. An alcove, sloping ceiling or unusually shaped wall may need its own measured area. The simple room calculation is not a geometry survey and cannot infer surfaces you have not entered.
Use the selected paint’s information
Find the coverage information for the exact product and finish, not a similar tin in the same brand. Check the recommended preparation and coating system. Surface texture, absorption and a substantial colour change can affect the work required. Ask the supplier about your situation rather than treating a calculator’s example coverage as a promise.
Suppose, only for a worked example, that the chosen product is estimated at ten square metres per litre per coat and the plan calls for two coats. Thirty square metres multiplied by two, then divided by ten, gives six litres before any additional allowance. These numbers explain the method; replace them with the figures appropriate to your product and surfaces.
Round the purchase rather than the room
If you choose a ten percent planning allowance in that example, the estimate becomes 6.6 litres. With paint available only in 2.5-litre cans, you would need three cans, or 7.5 litres. The difference between 6.6 and 7.5 is purchased surplus caused by pack size, not another percentage to add to the wall area.
Keep any spare paint plan explicit. You may want some for touch-ups, but buying several extra cans without a storage or future-use plan can leave you with expensive leftovers. Ask about batch consistency and the supplier’s returns policy before opening all the containers.
Save the decisions behind the number
Record the room, product name, colour code, finish, coverage assumption, coats and can size. Add the date and the measured openings. When you finish, note how much remained and whether additional preparation changed the work. That record is useful when another room uses the same finish.
If an old coating or substrate is unknown, resolve that question before disturbing it. For US homes built before 1978, the EPA’s lead-safe renovation guidance is a relevant starting point. A quantity estimate does not establish that a surface is safe to sand or strip. Settle the preparation requirements first, then buy for the job you actually intend to carry out.
Open Paint Quantity to organise your own inputs and keep an editable project.